Disclaimer: This is a personal blog, any views or opinions expressed in this blog are personal and belong solely to the blog author and do not represent those of people, institutions, or organizations that the author may or may not be associated with in a professional or personal capacity, unless explicitly stated. Any views or opinions are not intended to malign any religion, ethnic group, club, organization, company, or individual.
In this post we are going to install Plex Media Server on Proxmox using an Ubuntu 20.04 Container (LXC), while enabling Quick Sync for video Transcoding on an 11th Generation Intel CPU.
- Make sure to add storage if you added a new disk. I added a new NVME 500GB drive. Wiped the disk via Proxmox GUI, and then initialized as GPT.
- Then created LVM Thin Storage using this disk

- Create a new Privileged Container, give it a friendly hostname and remember your password
- Use a Ubuntu 20.04 template
- Switch to the storage you just created. As this will just host the Plex Server and not the actual content, I’m giving this container just 20GB of storage
- For now, I am using 4 cores and 8GB RAM
- Use DHCP for Networking
- Leave DNS as-is
- Do not start the container just yet
- In a future post, we will add our videos from other sources which is why we created a Privileged container.
As I want to use Intel Quick Sync for video transcoding, I had to do a bit of searching to find how to get this to work with an 11th Generation Intel i7 CPU.
I came across this post and I’m following user “osaether‘s” instructions; I’ve added some more commentary but this method is all from osaether. Click on the link to see the original post.
- In your BIOS, ensure that Intel Integrated Graphics is enabled and disable IOMMU.
- SSH into your Proxmox host or use the console in the GUI, and run the following:
ls -l /dev/dri- You should see the following:
root@pve:~# ls -l /dev/dri
total 0
drwxr-xr-x 2 root root         80 Feb 20 21:21 by-path
crw-rw---- 1 root video  226,   0 Feb 20 21:21 card0
crw-rw---- 1 root render 226, 128 Feb 20 21:21 renderD128
root@pve:~# - If you don’t see the above, or see “No such file or directory”, then your Intel iGPU is not enabled properly. Please check your BIOS settings.
- On your Proxmox server, edit your container configuration file
- This is located at /etc/pve/lxc/<CONTAINER ID>.conf

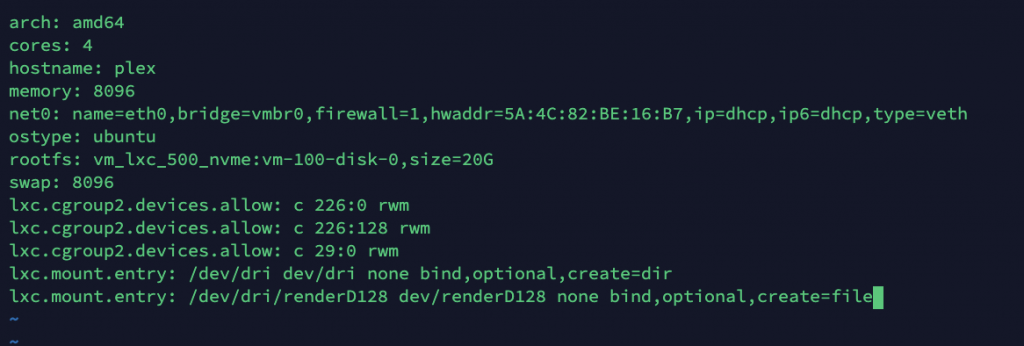
- Add the following lines to the bottom of the config file.
lxc.cgroup2.devices.allow: c 226:0 rwm
lxc.cgroup2.devices.allow: c 226:128 rwm
lxc.cgroup2.devices.allow: c 29:0 rwm
lxc.mount.entry: /dev/dri dev/dri none bind,optional,create=dir
lxc.mount.entry: /dev/dri/renderD128 dev/renderD128 none bind,optional,create=file
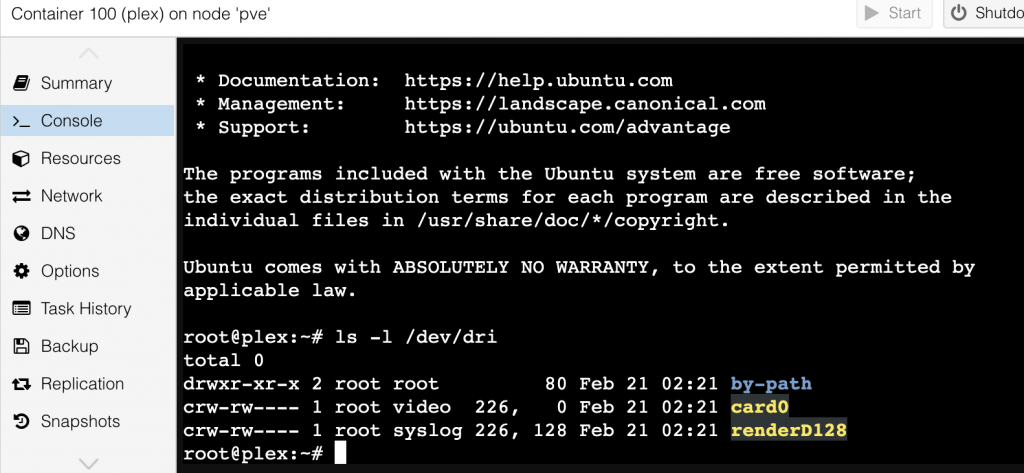
- Now start your container and run ls -l /dev/dri in your container. You should see outlook like below.
- Note: Your username is “root” and the password is what you set during creation.

- Personally, I like to use Termius for working in the terminal, so I’ll first SSH to Proxmox, and then attach to the container.
- Use the below command to attach to your container
lxc-attach --name <CONTAINER ID>
- Go ahead and update and upgrade your Ubuntu install with:
- apt update
- apt upgrade
- Make sure to install curl for use when adding Plex repos
- apt install curl
- Install GNU Privacy Guard
- apt install gnupg
- Install net-tools (will make our lives easier to find our container IP)
- apt install net-tools
- Next we need to install the Intel Drivers – https://github.com/intel/compute-runtime/releases
- Follow the instructions in the above link. Do Not Skip This Step.

- Change the group and mode of /dev/dri
/bin/chgrp video /dev/dri
/bin/chmod 755 /dev/dri
/bin/chmod 660 /dev/dri/*
- Now enable the Plex repos as described here: https://support.plex.tv/articles/235974187-enable-repository-updating-for-supported-linux-server-distributions/
echo deb https://downloads.plex.tv/repo/deb public main | sudo tee /etc/apt/sources.list.d/plexmediaserver.list

curl https://downloads.plex.tv/plex-keys/PlexSign.key | sudo apt-key add -
Now update your system. If you get any errors, make sure you have all the pre-requisite packages installed as mentioned above (curl, gnupg).

- Install Plex Media Server via:
apt install plexmediaserver- Verify that plex was added to Video & Syslog
cat /etc/group | grep plex
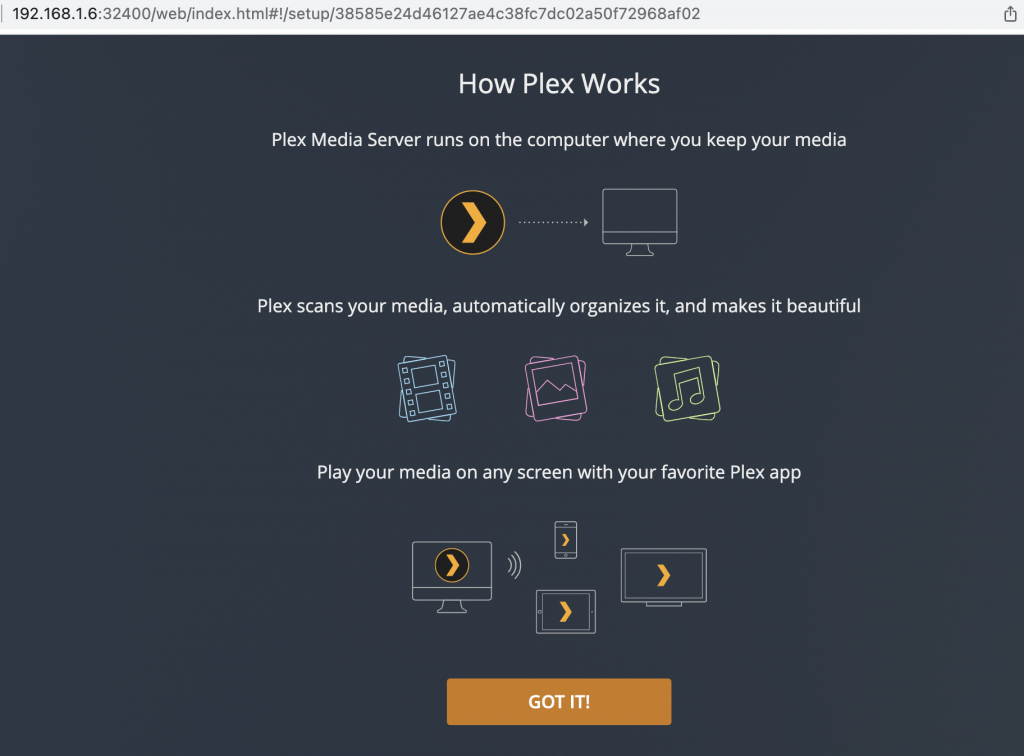
- Use “ifconfig” to find your IP address and then go to http://IP:32400/manage
- You should see Plex and test your content to ensure HW transcoding works!
- Note that you do need Plex Pass for HW acceleration

